
 Image 1 of 4
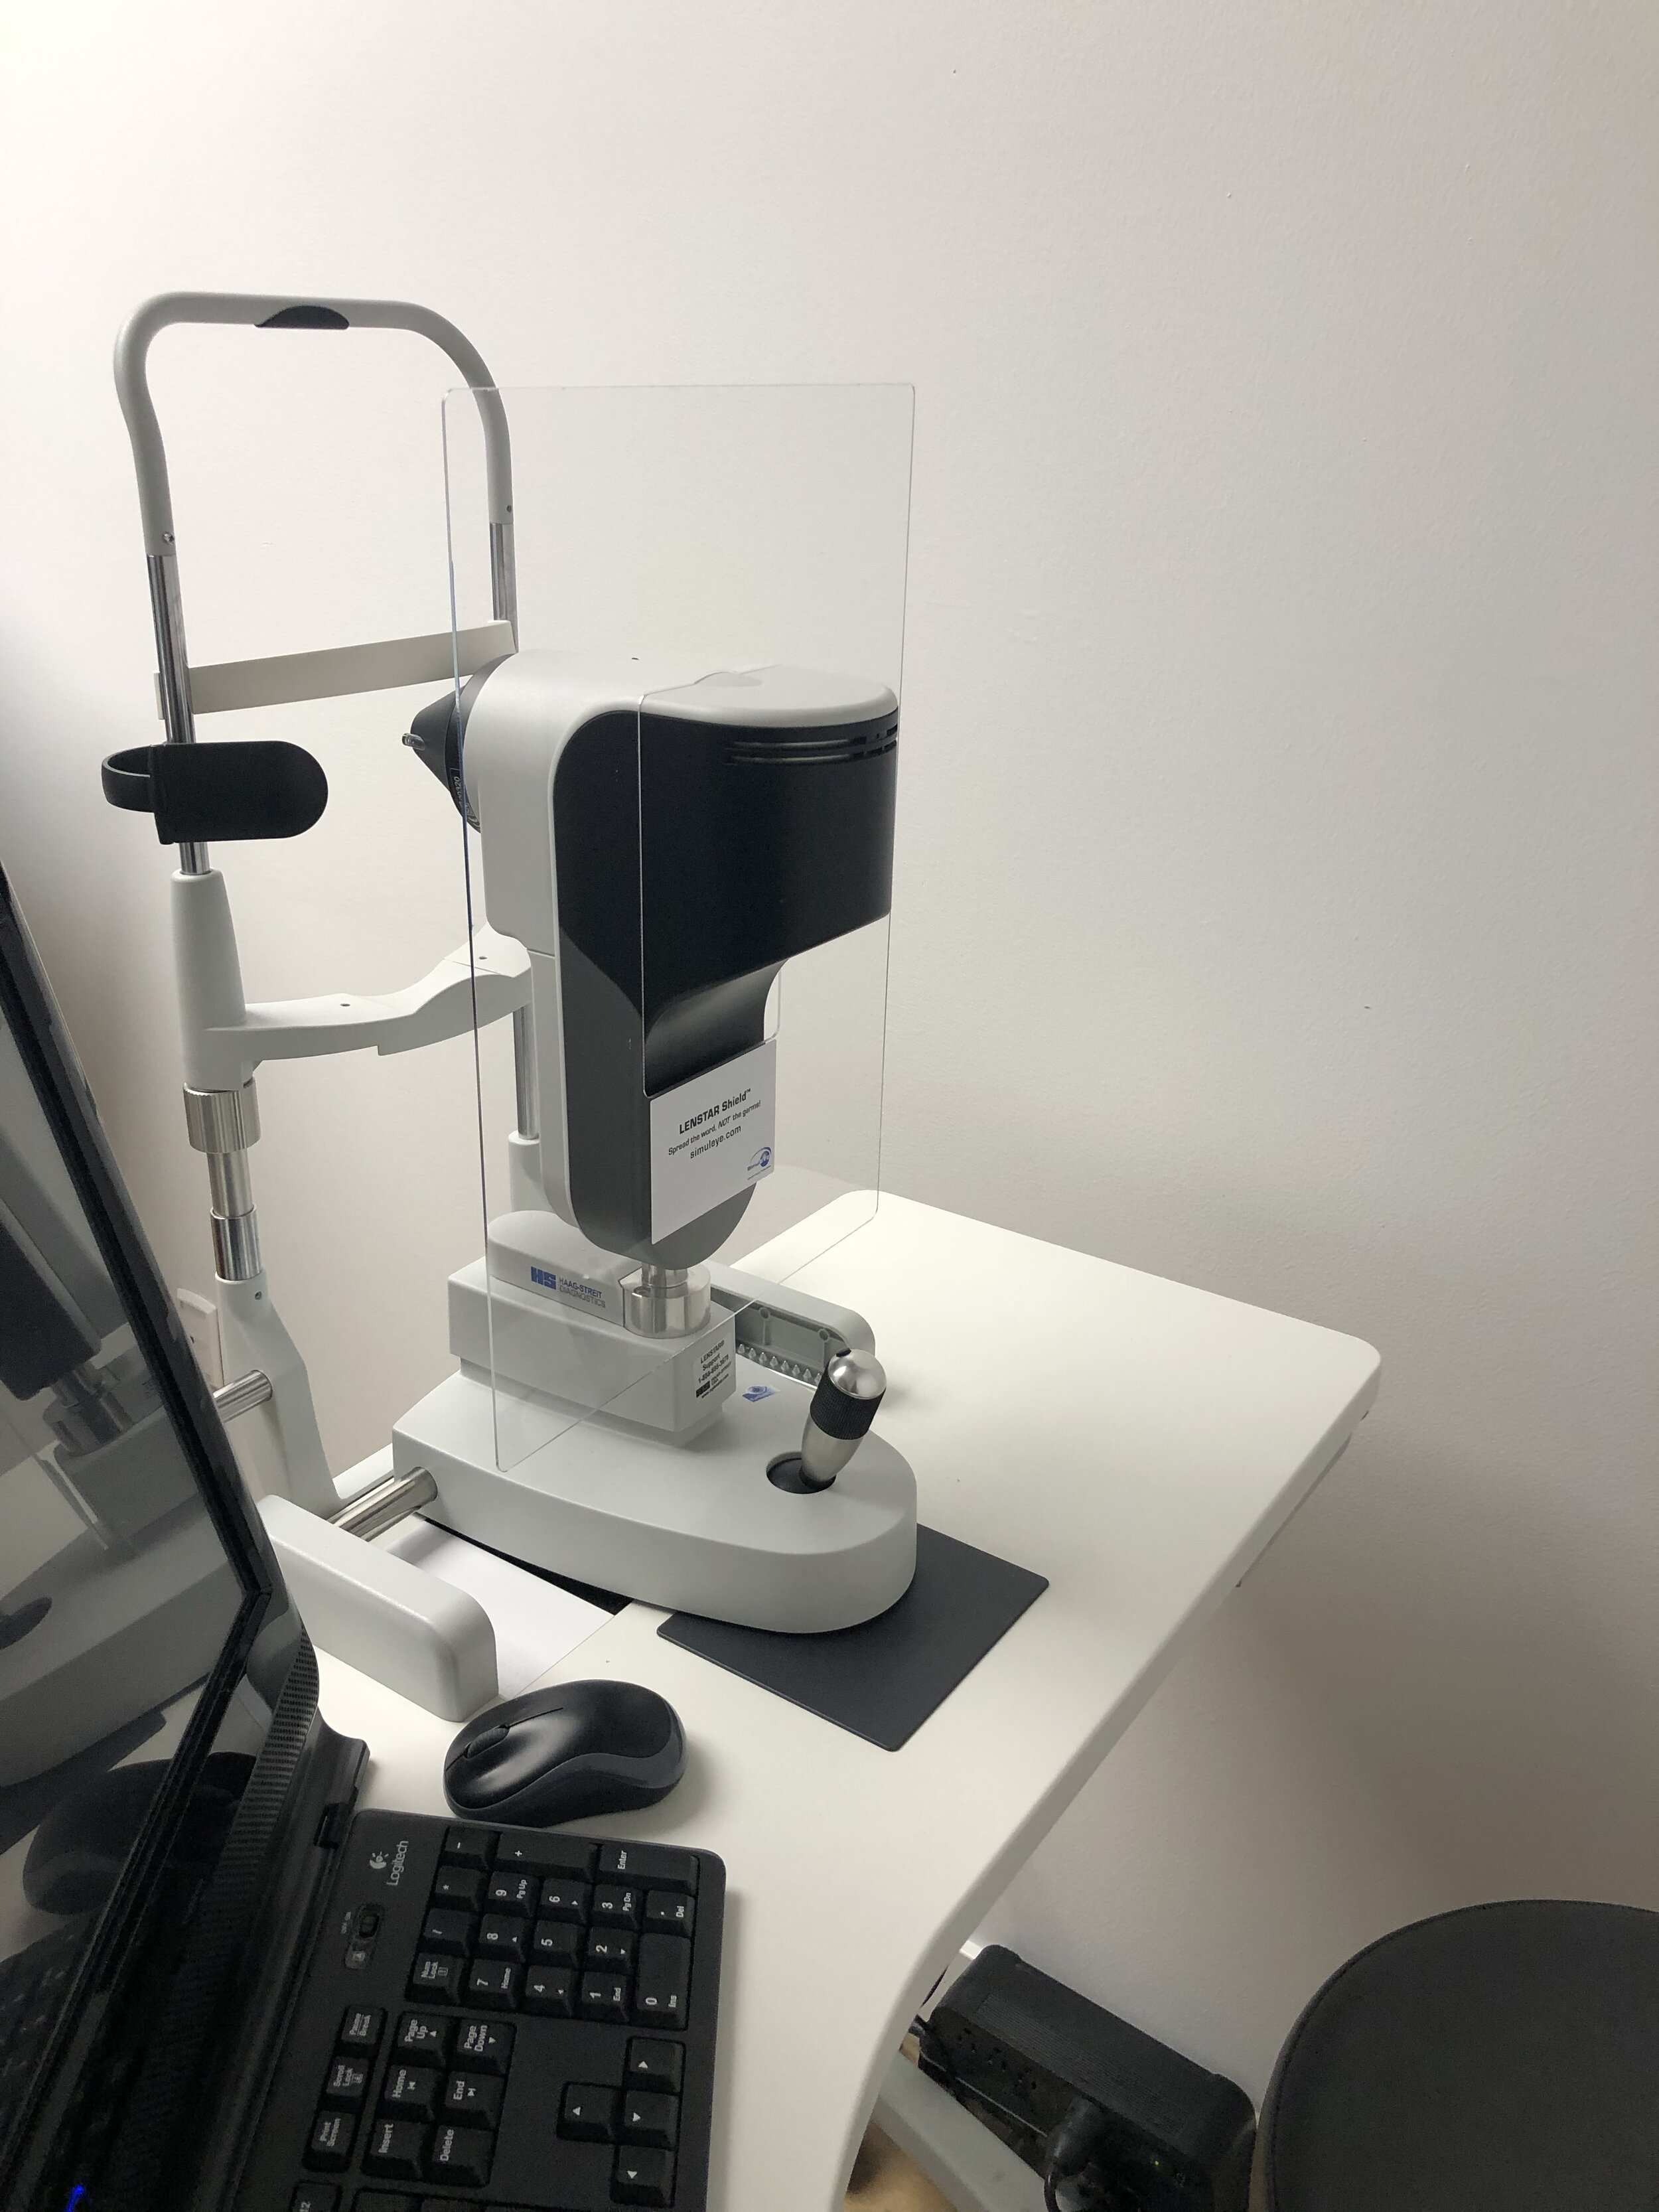 Image 2 of 4
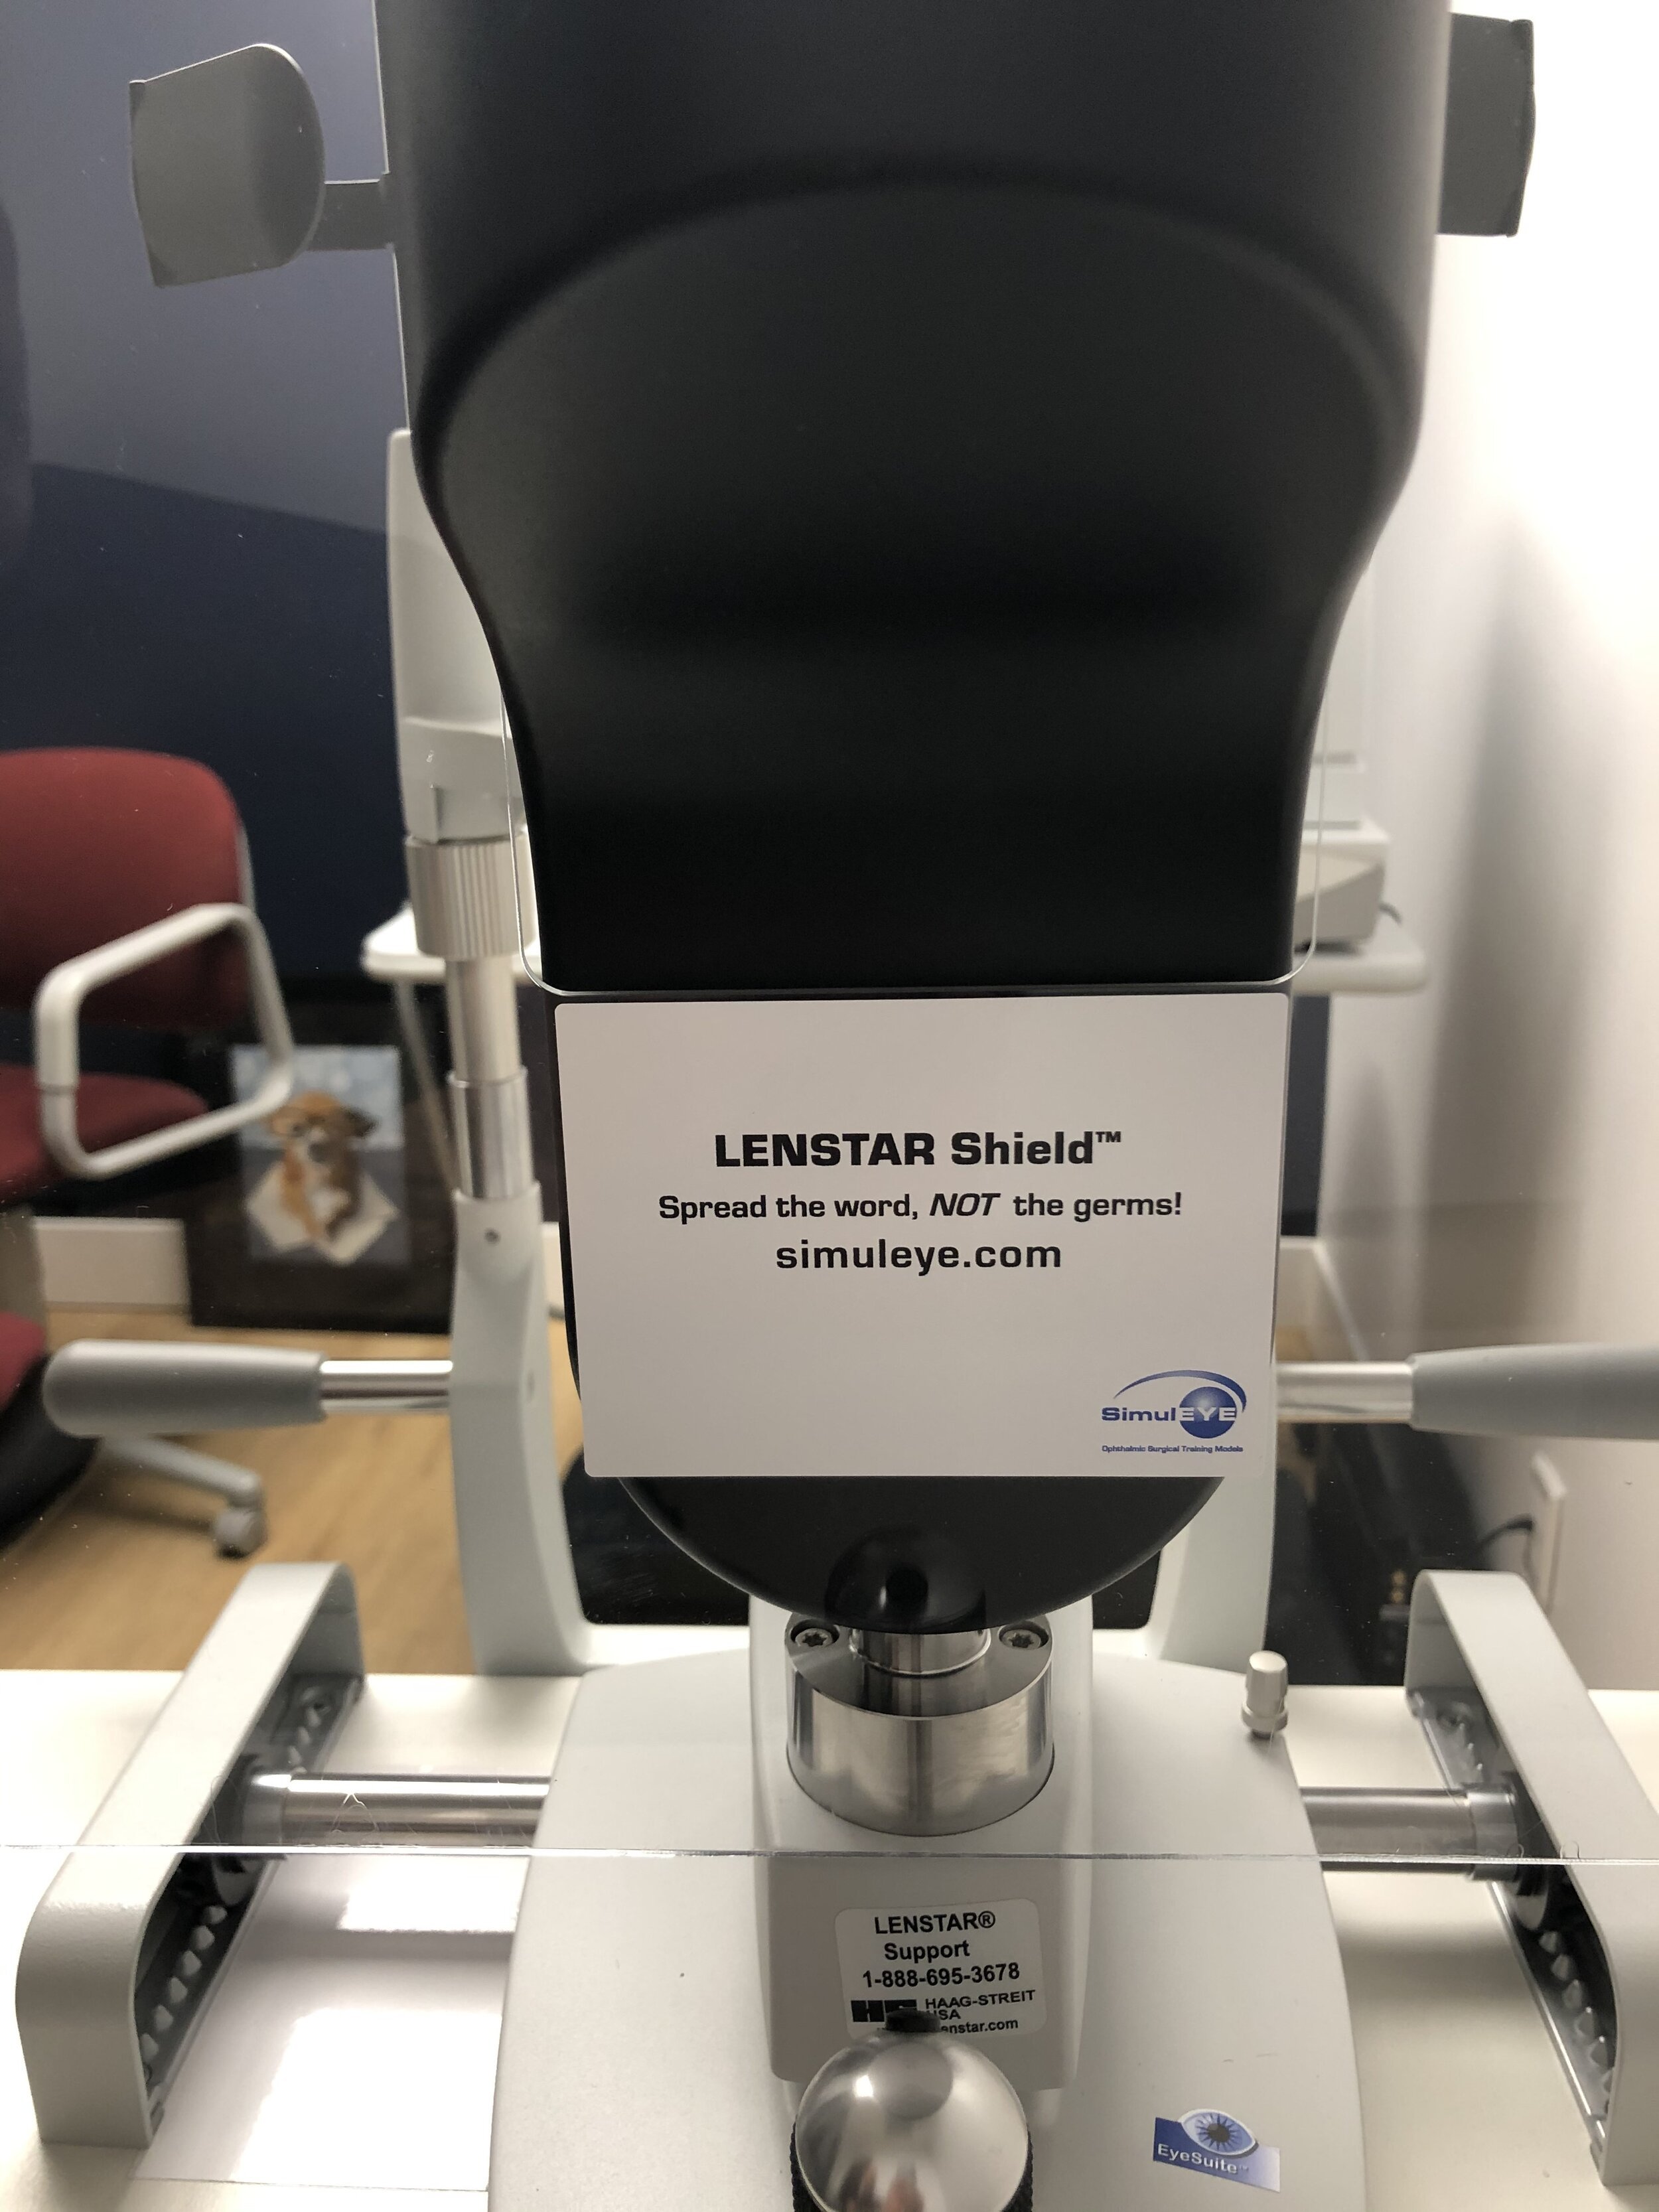 Image 3 of 4
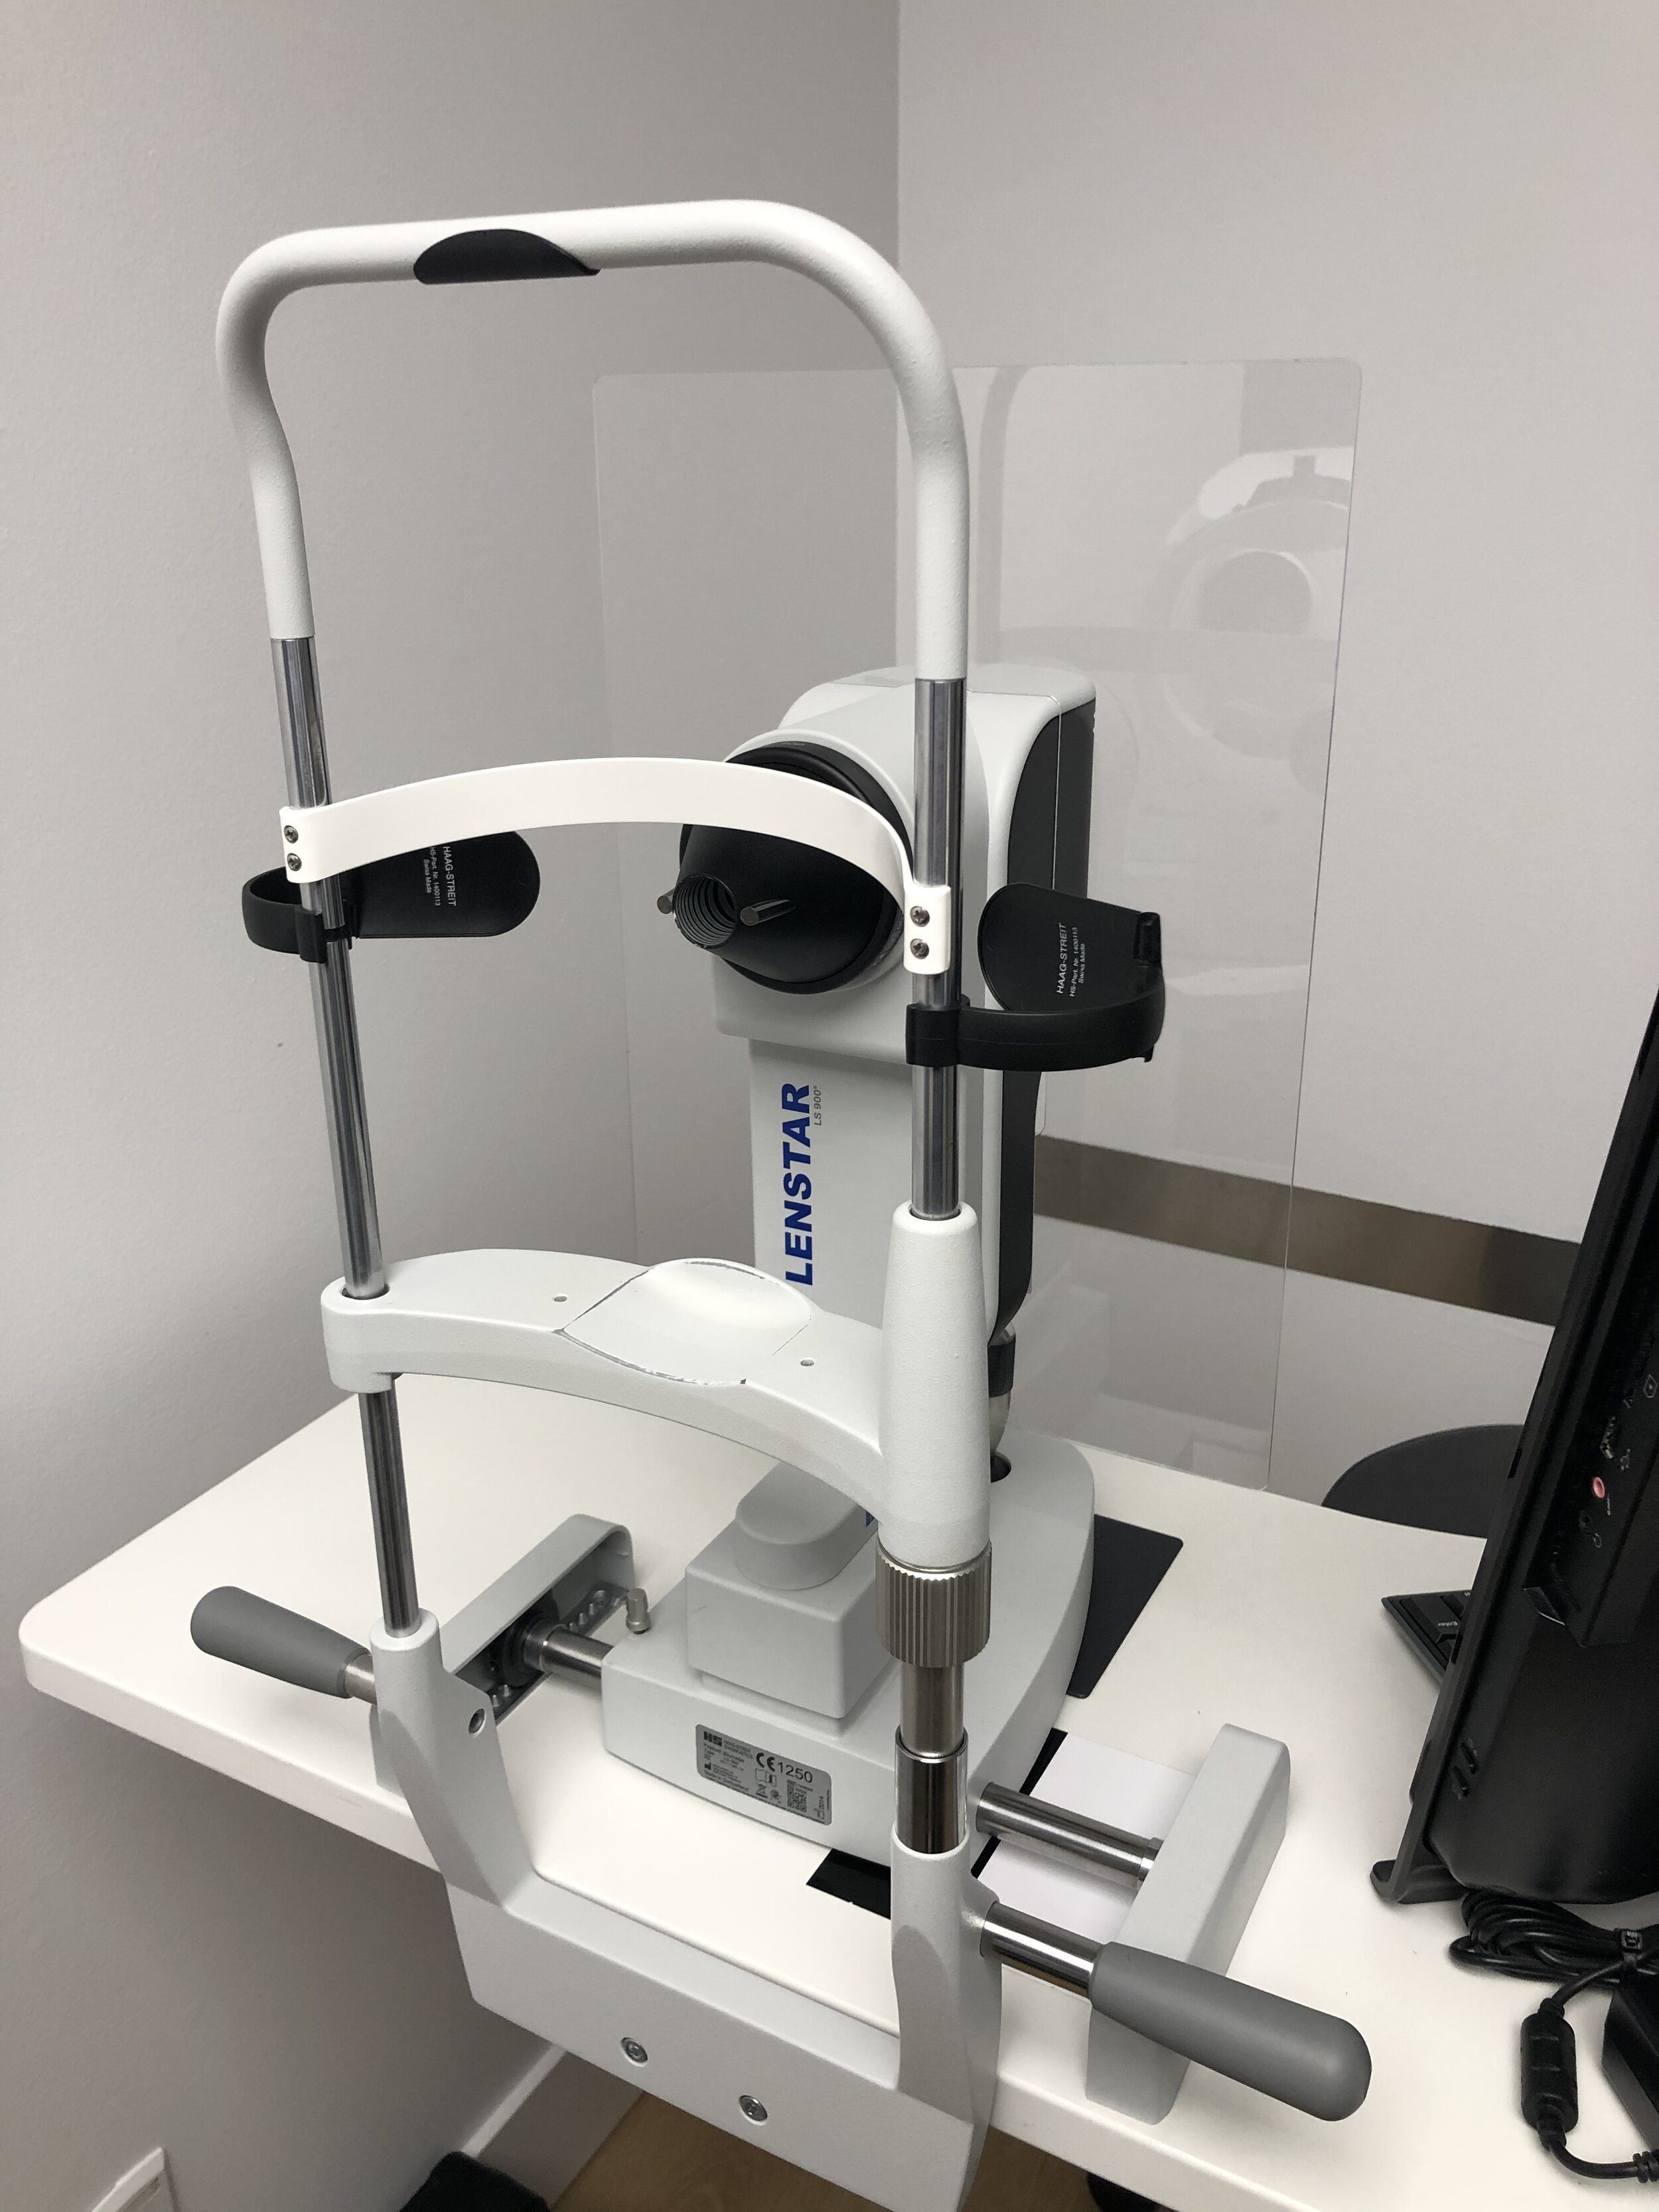 Image 4 of 4
INSTRUCTIONS:
Carefully remove all packaging and the bubble wrap.
Extra adhesive is included in a small baggie – remove and store for future use.
Carefully remove protective coatings from both sides of Shield taking care not to disturb the magnets or their adhesive protectors on the back side of the shield.
Using an alcohol pad, clean area on LENSTAR® where magnets will attach and allow to air dry.
Remove the adhesive protectors to expose the adhesive on all 3 magnets.
Place Shield over LENSTAR® taking care to avoid the joystick.
Allow Shield to sit all the way down on the LENSTAR® unit to minimize any spaces.
Press the Shield firmly against the LENSTAR® directly over the magnets while supporting the LENSTAR® from the other side.
Do NOT attempt to remove the LENSTAR Shield™ for 24 hours after initial installation.
TO REMOVE: Grasp at the top of the Shield and pull up and away from the device.
TO CLEAN: Wash away any debris with warm water and soap. Use a lint free cloth with alcohol or a disinfecting wipe to sterilize the Shield. Do NOT use abrasive cleaning products or brushes as they can scratch the acrylic.
TIPS & TRICKS: The LENSTAR Shield comes with all of the magnets already attached. Three magnets are attached directly to the Shield and the other three magnets that will go on the LENSTAR are already attached to those magnets. Remove the adhesive protectors in order to install. After installation, the three magnets with adhesive will remain attached to the LENSTAR. Removal of the Shield occurs by separation of the magnets from each other. Additional Adhesive is included and can be replaced as needed. Make sure to keep the same polarity orientation of the magnets when replacing them. Remove any old adhesive from the magnets, Shield or LENSTAR. Then clean those areas with alcohol and let dry. Remove adhesive protector from one side and place adhesive on to the same surface of the magnet as the old adhesive was attached to. Remove the other adhesive protector and press into place on LENSTAR® or Shield. If replacing magnets on the LENSTAR®, use the existing magnets on the Shield to help align the magnet to the original location on the LENSTAR®. If replacing magnets on the Shield, look for the CIRCLE ETCH MARKS which indicate the magnet locations on the Shield. Leave shield in place for 24 hours after reinstalling a magnet.
Instructional Videos:
Additional Notes:
Product Indications: Protective see-through barrier intended to provide a physical separation between patient and professional during use of a LENSTAR device. For complimenting the use of existing PPE devices.
Disclaimer: This product has not been tested to reduce or prevent transmission of any disease. We do not make any claims regarding this product.
The LENSTAR Shield™ is not FDA cleared and has been authorized by FDA under an emergency use authorization (EUA) for use by healthcare providers as personal protective equipment for the duration of the circumstances justifying the EUA declaration under Section 564(b)(1) of the Act, 21 USC 360bbb-3(b)(1) unless the EUA is terminated or revoked sooner.